Setting up Samba in Raspbian

Samba Share can be accessed from different platform include Windows, Linux, Android and Mac.
For this tutorial I'm using Raspberry pi 3 b+ running headless raspbian lite.
SSH into Raspberry Pi
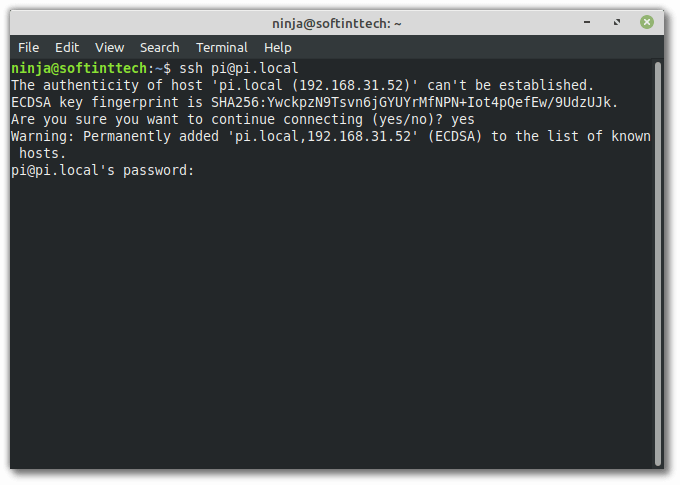
First, SSH into Pi.
ssh USERNAME@Pi-IP Address
Example:
ssh [email protected]
or
ssh [email protected]
Installing Samba in Raspbian
First, We have to make sure everything is updated.
Run the Below command one by one to update the Repository and Upgrade the packages.
sudo apt-get update
sudo apt-get upgrade
Now, Run this command to Install Samba.
sudo apt-get install samba samba-common-bin
Once the Installation is complete, Let's create a Folder under home directory of the Pi.
This Folder can be shared and accessed.
Run the Below command to Make Directory
mkdir /home/whoami/share
Now let's configure Samba.
Run the Below command to create a Samba configuration file.
sudo nano /etc/samba/smb.conf
Delete everything inside the Configuration file.
You can press ctrl+k to cut everything
Now, Copy and Paste all the Below line into the File.
Make sure to Replace Username with your Pi username
[global]
netbios name = Pi
server string = The Pi File Center
workgroup = WORKGROUP

[Pi-Share]
path = /home/Username/share
comment = No comment
writeable=Yes
create mask=0777
directory mask=0777
public=no
Now, Press Ctrl + O to save the file. and Ctrl + X to close the file.
Type the below command to create new samba user..
sudo smbpasswd -a pi
Enter the Password and move forward
It's time to restart Samba Service and Make it run.
sudo systemctl restart smbd
Above given command with Restart the samba service.
If you want to know the IP Address of the Pi. Run the Below command.
hostname -I